How to Pour Water in Schedule 1
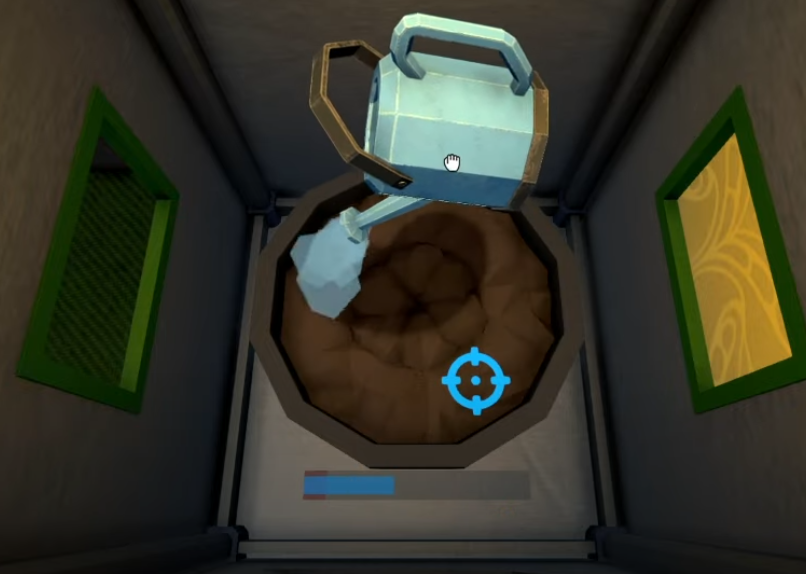
Image Credit: TVGS, Schedule I
So you’ve got a watering can. You’ve got seeds. You’ve got dreams. Now it’s time to actually grow something without accidentally flooding your pod or watering your shoes.
Here’s how to properly use the watering can in Schedule 1.
Read More: How Pot Sprinklers Work
Step 1: Buy and Fill the Watering Can
Head to the furniture or farming tab and purchase a watering can.
Take it over to any water source (like a sink or water tank).
Hold E to fill it up until it’s full.
No water = no plants. Pretty straightforward.
Step 2: Set Up a Grow Pod
Place a Grow Pod inside your property.
Open your inventory and plant a seed inside the pod.
Once planted, a little icon will appear saying the plant needs water.
This is your cue to start pouring.
Step 3: Water the Plant
Walk up to the pod while holding your filled watering can.
Press E to begin watering.
While watering, you can rotate the mouse or move the can around to spread the water evenly.
Stop once the plant no longer shows the "needs water" icon.
If you overdo it, don’t worry—the plant won’t die, but it might not grow as efficiently. Water just enough to keep the pod moist (but not swampy).
Final Blurb
Using the watering can in Schedule 1 isn’t rocket science—but it’s still easy to mess up if you forget to refill or aim like you’re watering your neighbor’s lawn. Stick to the basics: fill, pour, rotate, grow. And who knows, you might just become the proud parent of a slightly radioactive tomato.


