MegaBonk Poison Flask Guide | How to Unlock & Use
Poison Flask is one of the most toxic weapons in MegaBonk, both in theme and power. Many players wonder how to unlock it and how to build around its short range. With the right setup, this flask melts everything on screen and turns Amog into one of the strongest late-game characters.
What Poison Flask Does
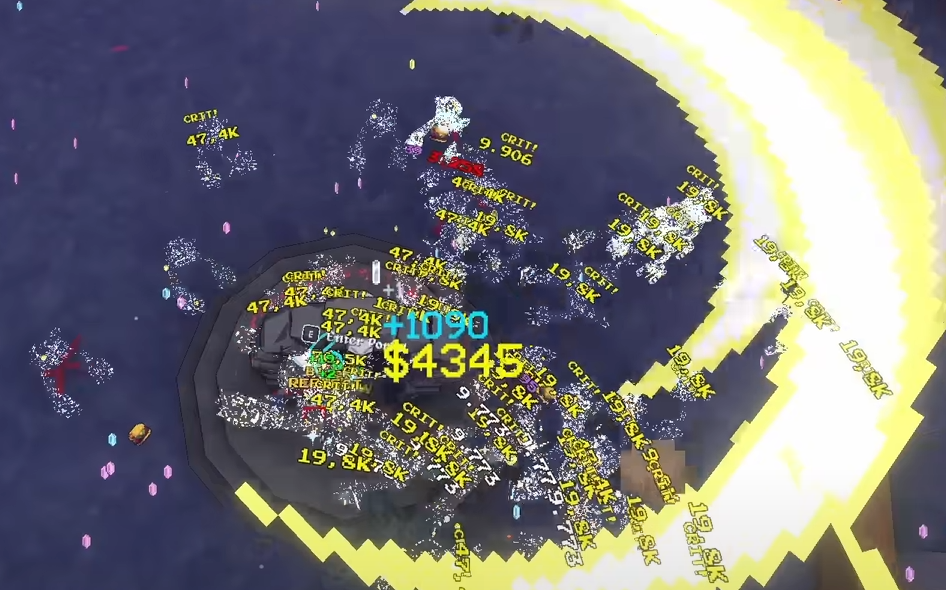
Poison Flask throws short-range bottles that shatter on impact, releasing poison clouds that damage enemies over time. Each hit applies a poison stack, and the damage increases the longer enemies remain inside the area. The effect can stack multiple times, making it lethal against bosses and large crowds.
Amog, who specializes with this weapon, also gains healing equal to a portion of the poison damage dealt. This creates a natural lifesteal loop, meaning the more you poison enemies, the faster you recover HP. Because of this, Poison Flask turns into both an offensive and defensive tool once upgraded.
How to Unlock Poison Flask
Poison Flask unlocks after poisoning 50,000 enemies using the Moldy Cheese item. This takes time but happens naturally if you run poison builds. Once unlocked, it becomes Amog’s signature weapon and can be selected for future runs.
Best Poison Flask Build
Poison Flask works best with weapons that cover its weak range. Lightning Staff, Aura, and Bone all help clear enemies before they close in. Projectile weapons also scale well with its poison damage over time.
For tomes, prioritize Damage, Projectile Speed, and Quantity. These multiply the flask’s poison damage and increase hit frequency. Attack Speed Tome helps smooth out its slow fire rate, while Luck Tome improves item rarity for stronger synergy options.
For items, Moldy Cheese is mandatory since it directly scales poison damage. Toxic Barrel spreads more poison when you take damage, while Vampiric Ring and Holy Book add lifesteal to keep you alive during close combat. Turbo Socks can also help reposition faster between enemy waves.
→ All MegaBonk Items | Best Tomes
Strategy Tips
Keep moving. Poison Flask rewards aggressive positioning but punishes standing still too long. Focus on stacking poison effects on tanky enemies while your secondary weapons clear smaller ones. If you find Charge Shrines, always activate them since extra stats boost your poison damage quickly.
Amog benefits heavily from any item that adds sustain or area control. Pairing Poison Flask with Aura or Lightning Staff lets you play close-range without instantly dying. Once you have enough tomes and poison synergies, you’ll notice his health and DPS scale faster than most builds.
Final Blurb
The Poison Flask may start weak, but once upgraded it becomes one of MegaBonk’s most destructive weapons. Its short range is a small price to pay for the sheer damage it outputs once poison stacks build up. Pair it with Moldy Cheese, strong tomes, and sustain gear to watch entire waves melt away in seconds.
FAQ
How do you unlock the Poison Flask in MegaBonk?
Poison 50,000 enemies using the Moldy Cheese item to unlock it.
What character uses the Poison Flask?
Amog’s signature weapon is the Poison Flask, unlocked after completing the Moldy Cheese challenge.
What tomes work best with the Poison Flask?
Damage, Projectile Speed, Quantity, and Attack Speed tomes are the strongest choices.
What items should I pair with Poison Flask?
Moldy Cheese, Toxic Barrel, Vampiric Ring, and Holy Book all boost its poison and sustain potential.
© 2025 GamerBlurb. Linking is welcome with credit to GamerBlurb.com. Copying or reproduction without permission is prohibited.


