Course Designer Guide: PGA Tour 2K25
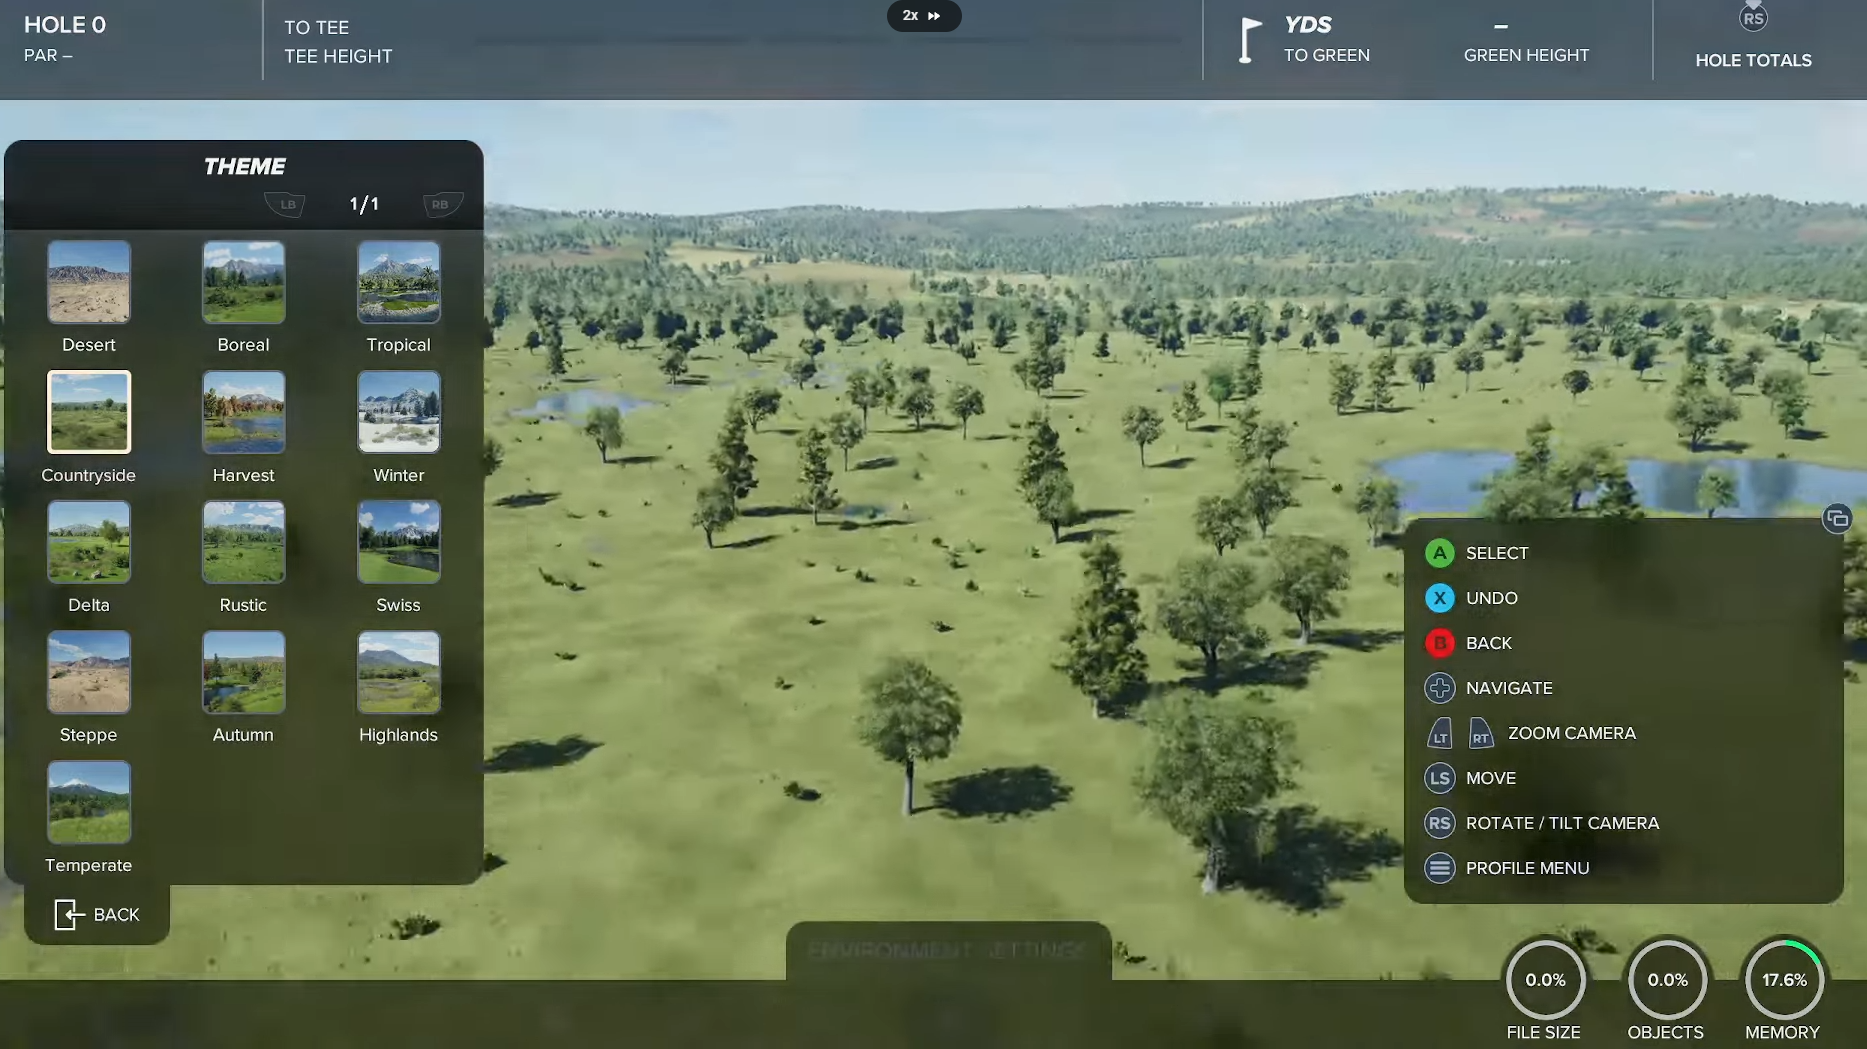
Image Credit: HB Studios, PGA Tour 2K25
The Course Designer in PGA Tour 2K25 gives players the tools to create custom golf courses and share them with the community. It doesn’t matter if you want to design a realistic championship course or something more imaginative, this mode lets you customize every detail, from terrain elevation to water hazards and crowd placement.
Getting Started with Course Designer
Go to Course Designer
From the Main Menu, navigate to Design and select New Course.
Set the Basics
Choose a course name.
Select the theme, terrain, and layout to get a base design.
Learn the Controls
Move the camera using the Left Stick (console) or Middle Mouse Button (PC).
Rotate the view with L1/L2 (PlayStation), LB/RB (Xbox), or Right-Click (PC).
Cycle through editing tools with L1/L2 (PlayStation), LB/RB (Xbox), or Q/E (PC).
Course Creation Tools
Terrain and Layout Adjustments
Adjust Hole Layout – Move waypoints to change fairway direction or create doglegs.
Sculpt Terrain – Raise or lower land to create hills, valleys, cliffs, or water features.
New Spline Tools – Quickly add rivers and lakes with a few clicks.
Surface Customization
Terrain Painting – Use different surface layers like grass, sand, and rock for realistic course design.
Edge Blending – Smooth transitions between surfaces for a more natural look.
Surface Weathering – Add wear and tear for a more realistic, lived-in feel.
Object Placement
Add Trees, Rocks, and Buildings – Place nature and structures for more scenic variety.
Course Details – Customize bunkers, cart paths, and grandstands.
Crowd and Marshals – Place spectators and officials for a tournament-style experience.
Gameplay Adjustments
Adjust Green Speed & Fairway Firmness – Fine-tune how the course plays.
Pin Positioning – Set up to four different pin placements per hole.
Weather & Lighting – Change the time of day, sky conditions, and fog levels.
Testing and Publishing Your Course
Playtest Your Course
Check for impossible shots, unfair slopes, or major difficulty spikes.
Save Your Course
Select Save or Save and Exit from the pause menu.
Publish Your Course
Once satisfied, select Publish Course to share it online.
Your course will be available for others to search, play, and rate.
Final Tips for Course Creation
Experiment with terrain tools – Don’t be afraid to tweak elevation for more unique designs.
Use real-life inspiration – Research golf course layouts for ideas.
Test multiple times – A great course balances challenge and playability.
Have fun with it – Whether you’re making a serious tournament course or something wild, enjoy the process.
With PGA Tour 2K25’s Course Designer you can bring your dream course to life and compete on it with friends and players worldwide. So cool.
Recommended • View all PGA Tour 2k25


