

Schedule 1 Automation Guide
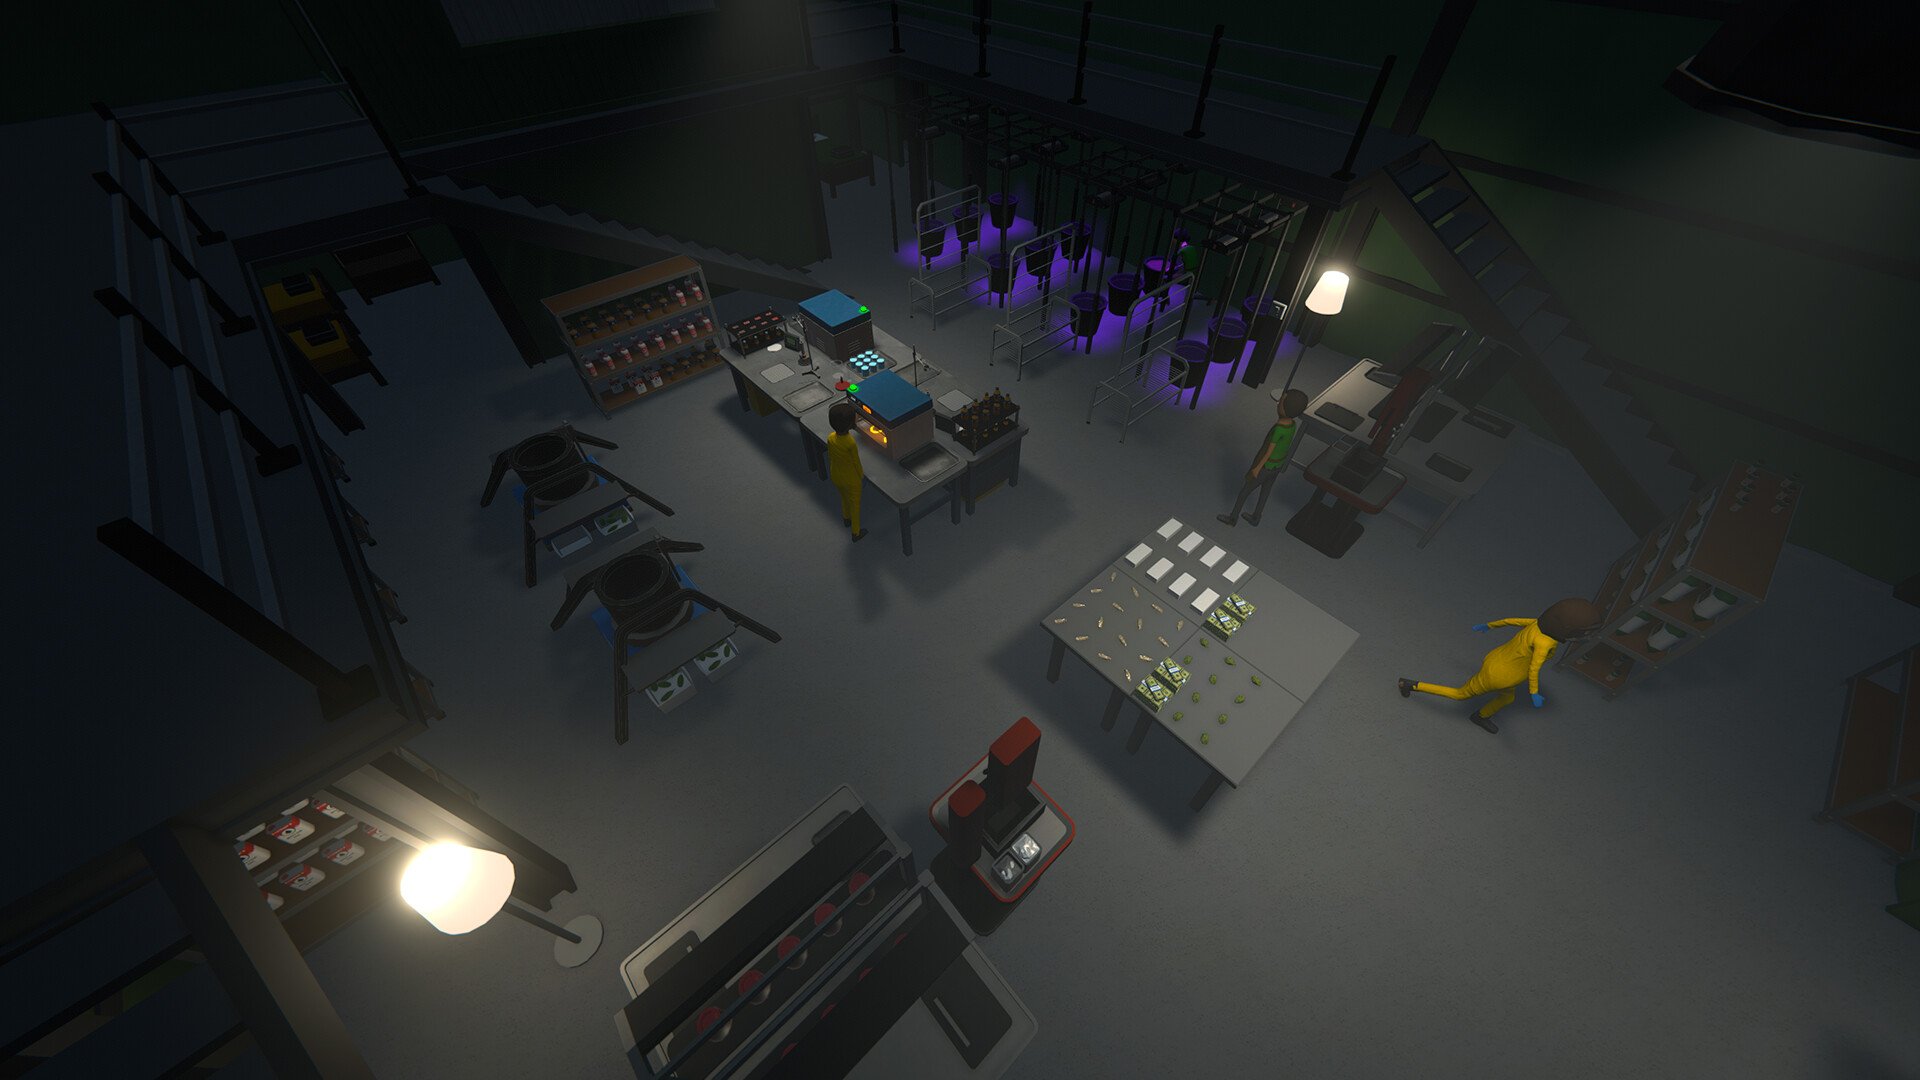
Image Credit: TVGS, Schedule I
If you want to automate production in Schedule 1 this guide covers how to fully automate an eight-step mix setup for maximum profit with minimal hands-on effort.
Automation Equipment Setup
13 Large Storage Racks
8 racks for mixing station ingredients (one rack per ingredient).
3 racks for chemistry station supplies (pseudo, acid, phosphorus).
1 rack for packaging containers.
1 rack to hold packaged product.
Mixing Stations
8 mixing stations in a line.
Use an MK2 mixing station as the first station for faster startup.
Chemistry Stations and Lab Ovens
3 chemistry stations, each paired with a lab oven.
Machine Routing
Chemistry Stations:
Route each chemistry station to its lab oven.
Route each lab oven to the first mixing station.
Mixing Stations:
Chain each mixing station to the next in sequence.
Final mixing station routes to the packaging station.
Packaging Station:
Routes to the storage rack for finished product.
Employee Setup
Handlers:
Handler 1 & 2:
Route ingredients from storage racks to corresponding mixing stations.
One handler also handles packaging station and supplies it with containers.
Handler 3:
Routes pseudo, acid, and phosphorus to the chemistry stations.
Chemists:
Mixing Chemists:
Assign chemists to alternating mixing stations (e.g., 1, 3, 5, 7 for Chemist 1; 2, 4, 6, 8 for Chemist 2).
This prevents bottlenecks by ensuring no chemist handles two consecutive stations.
Cooking Chemists:
Assign chemists to chemistry stations and their paired lab ovens.
Cleaner (Optional):
Assign to cover trash cans near the mixing line.
Important Tips
Investigate New Mixes:
When making a new product, inspect it at the mixing station before automation continues.
Ingredient Stack Order:
Organize pseudo, acid, and phosphorus in correct order on storage racks to avoid stocking errors.
Startup Time:
Expect slow initial production. Once the first batches are completed, output will speed up.
Employee Wages:
Don’t forget to assign beds and pay wages to all employees.
Daily Output:
With this setup, expect around 90 eight-step products per in-game day.
Final Optimization Tips
Check product prices at each mixing stage. If value drops, replace the ingredient causing the drop.
Use the in-game delivery app to order large mixer quantities directly to your production area.
Consider purchasing the Jeeper vehicle for faster ingredient restocking.
Restock supplies after 4:00 when in-game time pauses for deliveries and planning.
This setup, once running smoothly, can produce large quantities with very little manual input — leaving you free to focus on expanding your business.
Recommended | View all Schedule I


