

How to Lock On in Monster Hunter Wilds
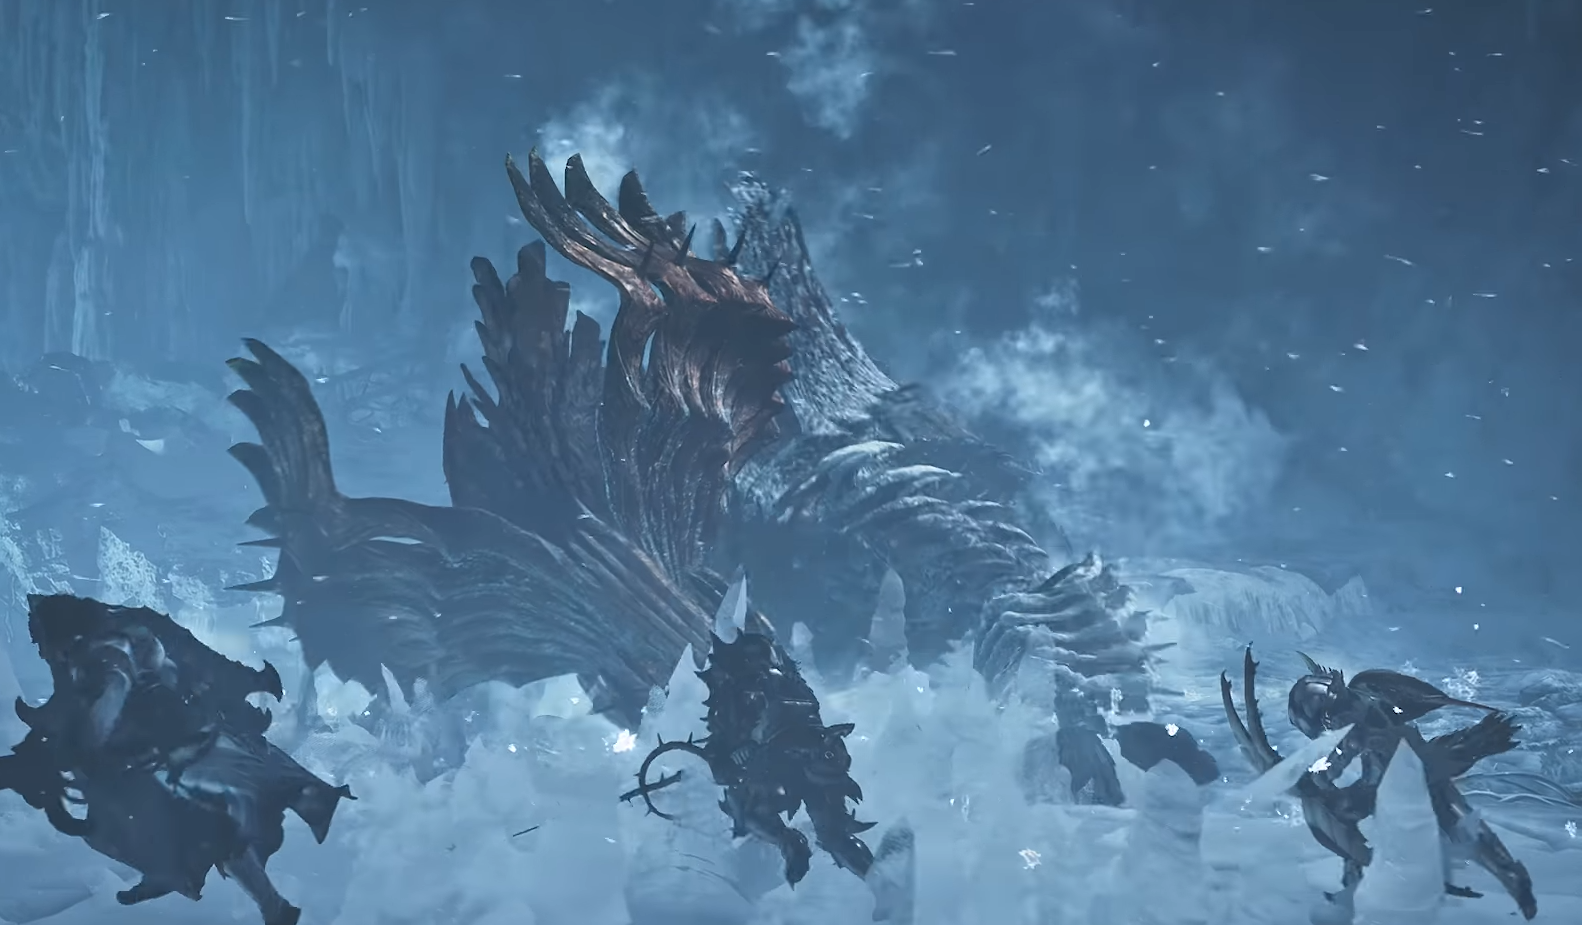
Image Credit: CAPCOM Co., Ltd., Monster Hunter Wilds
Locking onto a monster in Monster Hunter Wilds helps keep your target in sight during fast-paced battles. Here’s how to use the Target Lock system and the difference between Target Camera and Focus Camera settings.
How to Lock On
Press the right analog stick (R3) near a monster to lock onto it.
Press R3 again to switch between targets.
If it’s not working, check your camera settings to make sure lock-on is enabled.
Target Camera vs. Focus Camera
There are two lock-on styles. One gives you more control, while the other does most of the work for you.
Focus Camera (Best for Beginners)
The camera automatically follows the monster.
Ideal for those who want to focus on attacks instead of adjusting the camera.
Pros:
Keeps the monster in view at all times.
Helps focus on attack combos.
Cons:
Harder to see what’s around you.
You might miss smaller enemies, walls, or environmental hazards.
Target Camera (Best for Experienced Players)
The camera does not follow the monster automatically.
Press L1 (PS5) / LB (Xbox & PC) to quickly snap the camera to the monster.
Pros:
Gives full control over the view.
Makes it easier to see the surroundings.
Cons:
Requires manual adjustments mid-fight.
Can feel disorienting at first.
If you're new to the series, Focus Camera makes tracking monsters easier. If you prefer full control, Target Camera is the better choice.
Additional Camera Settings
Target Selection Filtering: Lock onto large monsters only to avoid accidentally snapping to smaller creatures.
Vertical Camera Settings: Adjust how the camera tracks a monster’s height. This helps if you often lose sight of your target when it moves up or down.
Final Blurb
Lock-on makes battles smoother, but it’s not a substitute for awareness. Stay sharp, watch your surroundings, and don’t rely on the camera to save you from a bad dodge.
Recommended • View all Monster Hunter Wilds


