

REPO All Monsters & Enemies Guide

Image Credits: semiwork, R.E.P.O.
The monsters in REPO are not here to make your life easier. Some will chase you down, others will just mess with your vision, and a few are simply there to ruin your day in creative ways.
If you want to survive or know how to fight back, you’re in luck! Here’s a guide with all of the REPO monsters and how to handle them.
Note: You can click each monster name on the list to jump straight to that monster/section, or just keep scrolling down!
List of All Monsters and Enemies in REPO

Apex Predator (Duck)
Health: 150
Damage: 10
This one looks like a cute yellow duck. It is not a cute yellow duck. It follows you around like it wants a hug, then goes full horror movie if you click on it. Don’t. Or do, if you like jump scares and pain.

Chef (Frog)
Health: 150
Damage: 10 per slice
Tiny chef, big problem. They stop, stare, then jump at you with knives swinging. If they land close, you can get sliced multiple times. Step aside when they wind up.

Peeper (Eye Monster)
Health: 50
Damage: 2 per second after 3 seconds
A ceiling eyeball that hijacks your screen and makes you stare at it. If you don’t break line of sight, it starts hurting you. Hide behind stuff until you’re free to look away again.

Robe
Health: 250
Damage: 100
Sneaks behind you and waits for you to turn around. If you do, it pounces and ends you. Use your side vision or look down. Turning around is how you die.

Clown
Health: 250
Damage: 100
One of the scariest things in the game. If it spots you, it fires a beam. One hit = you're gone (unless you’ve upgraded your health). Dodge high or low depending on where the beam’s aiming. And never trust clowns.
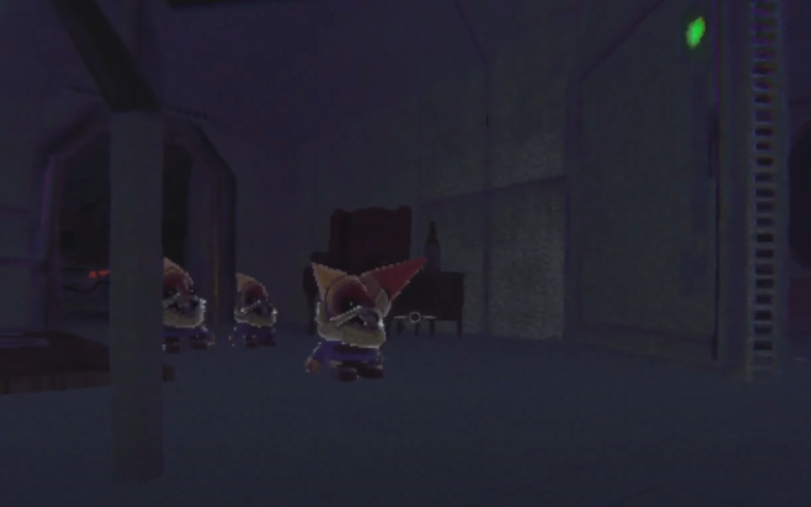
Gnome
Health: 20
Damage: 10
These little guys are everywhere. They’re weak, but they break stuff and swarm when you’re hiding. You can pick them up and smash them, which is both useful and a little fun.

Headman (Floating Head)
Health: 250
Damage: 50 + stun
Tall, angry, and nearly impossible to kill without a gun. If it sees you, it charges and hits hard—then stuns you, so you’re basically done for. Stay crouched and don’t breathe.

Huntsman
Health: 250
Damage: 100
He’s blind but has great hearing. Makes up for it by killing you in one hit. Don’t talk. Don’t stomp. Just quietly hide or throw things to distract him. Shhh.

Mentalist (Alien)
Health: 150
Damage: 50
Floats objects, lifts players, then slams you all down. Can teleport, too. Basically the worst party magician. Keep distance and don’t clump up with teammates.

Animal
Health: 150
Damage: 2
Sort of a gross raccoon-thing. Doesn’t hit hard, but it messes with your cart and throws stuff everywhere if it gets mad. Basically a toddler with claws. Just don’t let it near your loot.

Reaper
Health: 150
Damage: 10 per hit
This thing looks like a scarecrow and swings fast. Avoid it if it’s near your cart—otherwise, say goodbye to your valuables. Hide until it calms down.

Shadow Child
Health: 150
Damage: 30 + stun
Creepy kid sound = it’s close. Don’t look at it for more than four seconds or it hits you and stuns you. Pretty easy to avoid if you just stare at something else.

Spewer
Health: 65
Damage: 10
It latches to your face and makes you puke. You can hurt enemies this way, which is weirdly helpful. Just don’t vomit on friends. Unless they deserve it.

Hidden
Health: 100
Damage: 0
You can’t see this one. It kidnaps you and drags you far away like a creepy Uber driver. Doesn’t hurt you directly, but it will drop you next to something that does. Great.

Trudge
Health: 500
Damage: 100
Super slow, but super tanky. It can suck you in from across a room. Hide and wait for it to pass. Maybe take a snack break. You’ll be there a while.

Upscream
Health: 50
Damage: 10 + stun
Smiley little weirdo. Gets close, screams, and stuns you. Low health, easy to kill, but if you don’t, it can chain-stun you. Hit it fast before it ruins your whole vibe.

Bowtie
Health: 100
Damage: 5 per slam
Looks like a marshmallow in a bad mood. It pushes you with gusts of air. If it traps you against a wall, your health drops fast. Move out of its way before you get flattened.

Rugrat (Baby Monster)
Health: 150
Damage: Depends on what it throws
Looks harmless. Isn’t. It picks up your loot and throws it at you. Damage depends on the item. Try to keep your fancy stuff out of reach.

Banger
Health: 50
Damage: 30 + knockback
A floating skull with dynamite. Real subtle. They explode when close, and usually show up in groups. Stay far away or prepare to go flying.
Final Tips
If it’s slow, it’s usually avoidable.
If it sees you, run. Doors and furniture can save your life.
Never trust the duck.
Now you know what lurks in the horror game R.E.P.O.—so try not to get yourself repossessed.


